

Authorizing Access to the Leap Service#
Ocean’s SDK releases 6.6 and higher enable Leap™ authentication using the secure OAuth 2.0 industry standard. As described in the Configuring Access to the Leap Service (Basic) section, you require a Solver API (SAPI) token from your Leap account to submit problems to Leap solvers.
Authorization Procedure#
The following procedure authorizes the Ocean software access to your account in the Leap service and enables storing your SAPI token in your development environment. Ocean software authorization to access the Leap service persists across subsequent development sessions for this development environment.
This procedure uses the Ocean software CLI
dwave setup command, which also handles optional Ocean packages and the
configuration file for you; the CLI page also
describes alternative commands (e.g., dwave auth) for more granular control.
For any new developer environment (for example, a Python virtual environment or a GitHub Codespaces codespace), run one of the following commands from your terminal. If your account has more than one project, the Multiple Leap Projects tab below shows how to select one.
In an environment such as an IDE installed on your system, where you can access localhost addresses from your browser, initiate the OAuth redirect flow:
dwave setup --authIn an environment such as a cloud IDE, where access to localhost addresses from your browser might be blocked, you can initiate the alternative OAuth out-of-band flow:
dwave setup --oobYou can log in to your Leap account, set the preferred project to be the active project (by selecting your_user_name > Projects > project) and then use the procedure described in the Single Leap Project tab.
Alternatively, you can use the
--projectoption to select a project as shown here (the example code below selects a project namedPROJ3):[1]In an environment such as an IDE installed on your system, where you can access localhost addresses from your browser, initiate the OAuth redirect flow:
dwave setup --auth --project PROJ3In an environment such as a cloud IDE, where access to localhost addresses from your browser might be blocked, you can initiate the alternative OAuth out-of-band flow:
dwave setup --oob --project PROJ3You can always switch your environment to use the API token of another project later. For example, if you ran the procedure of the Single Leap Project tab with the
PROJ2project set to active in Leap, you can at any time switch to thePROJ3project with thedwave config create --auto-token --project PROJ3command.If you are not currently logged into the Leap service, you are asked to enter your credentials.
Figure 216 shows the login screen.
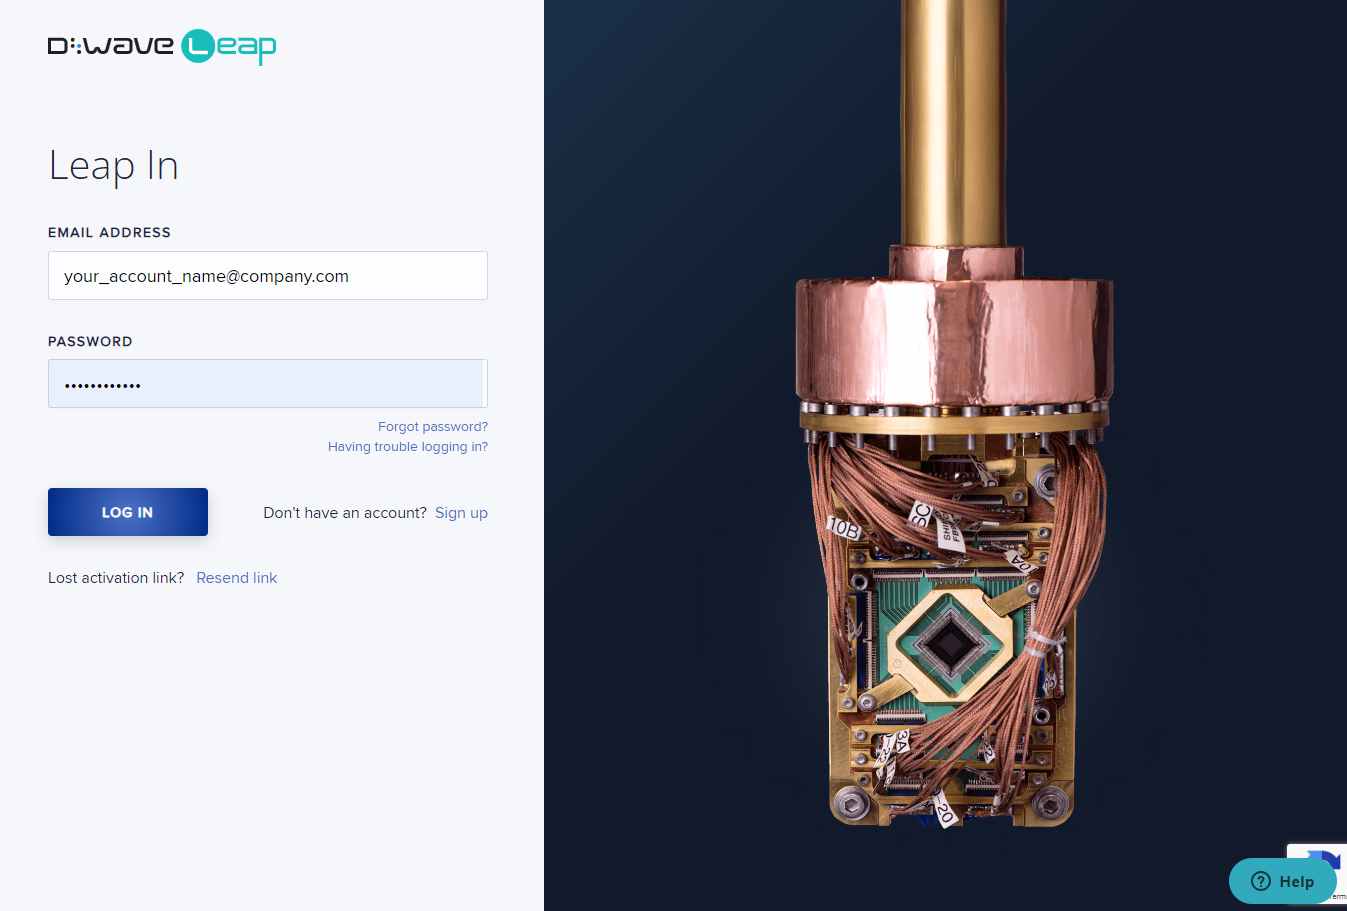
Fig. 216 Login screen in the Leap service.#
When you are logged into the Leap service, you are asked to grant the Ocean software permission to fetch an authorization code.
Figure 217 shows the authorization request.
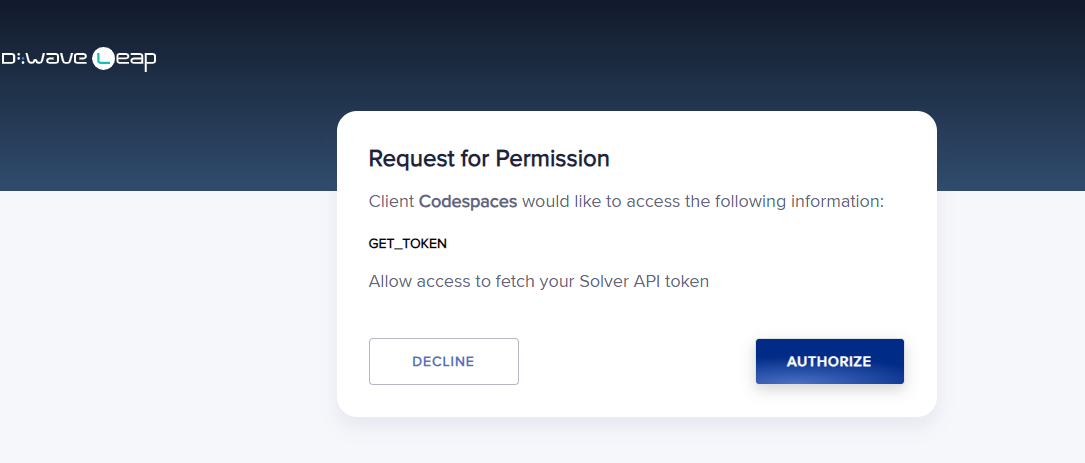
Fig. 217 Authorization request screen.#
Click the
Authorizebutton.For the OAuth redirect flow, the authorization code is now stored in your development environment; for the OAuth out-of-band flow, your browser displays the authorization code.
For the OAuth out-of-band flow only, copy the authorization code to your terminal’s “
Authorization code:” prompt, similar to the representative shell lines shown below:$ dwave setup --oob Optionally install non-open-source packages and configure your environment. All optional packages already installed. Authorizing Leap access. Please visit the following URL to authorize Ocean: https://cloud.dwavesys.com/leap/openid/authorize?response_type=code&client_id=80... Authorization code: 717983... Authorization completed successfully. You can now use "dwave auth get" to fetch your token. Creating the D-Wave configuration file. Using the simplified configuration flow. Try 'dwave config create --full' for more options. Creating new configuration file: /home/user/.config/dwave/dwave.conf Updating existing profile: defaults Fetched SAPI token for project 'Project 5' (PRJ5) from Leap API. Configuration saved.
Figure 218 shows the authorization code returned in a browser tab for you to copy to the terminal prompt.
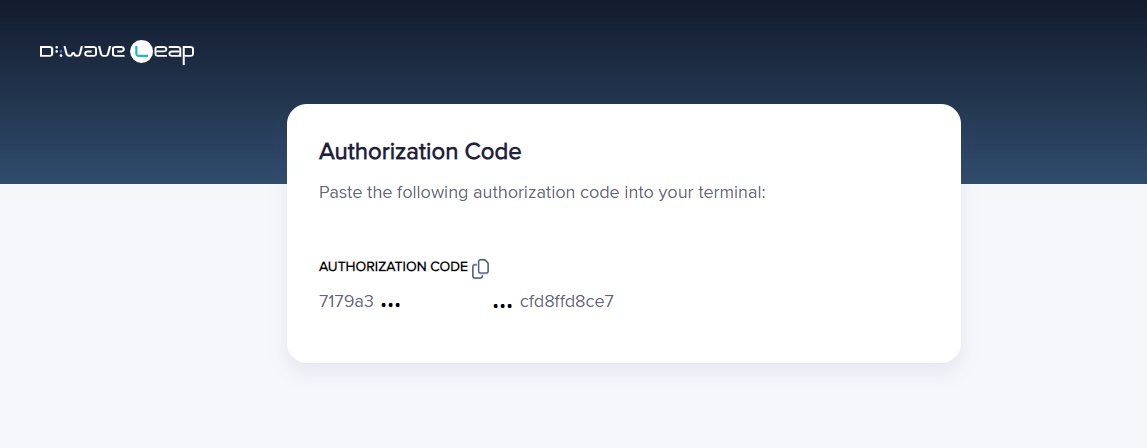
Fig. 218 Authorization code screen#
Validate the configuration by running the following command in your terminal:
dwave ping
If you cloned a D‑Wave example, you can now run it.